One Button Studio General information
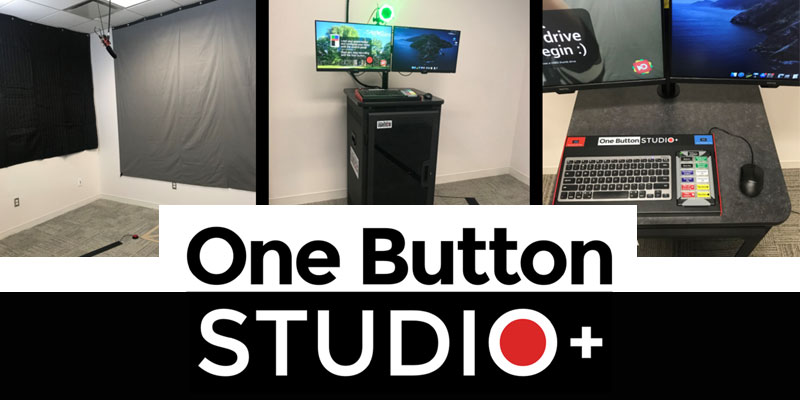
TAMUT's One Button Recording Studio (OBS) is open to faculty, staff, and students. Using only a flash drive or two, you can create quality recordings without the need for complicated hardware or time-consuming editing software. No video production experience is required!
The OBS is located in University Center 322 and can be reserved via Ad Astra. The links below contain information about using Ad Astra* and how to create recordings.
Helpful Tips
* Due to an integration issue, some users are currently unable to log into Ad Astra. If you cannot log into Ad Astra, please call 903-223-3000, and a customer service associate will make a reservation for you.
Instructors Can:
- Create Lectures
- Produce Introductory Videos
- Record Demonstrations
- Present Lessons
Students Can:
- Record Introductions
- Create Projects
- Produce Interviews
Staff Can:
- Create Video Workshops
- Produce PR Videos
- Record Department Videos
Best Practices for using the One Button Studio
Attire
- Dress professionally. Overall professionalism in appearance will ensure that your viewers will be focused on the content of your presentation rather than your appearance.
- Avoid patterned clothing including pinstripes, herringbone, scottish tweed, small tight patterns.
- Avoid saturated red and colors that highly contrast with your completion.
- Avoid fabrics that make noise when they move or are pressed against a microphone (wool).
- Mid-range solids or subtle patterns, navy, soft non-textured fabrics are suitable for video.
- Be sure to wear something that makes you feel comfortable and confident.
- Don’t wear blue or green if you want to use the blue/green screen.
- Pay attention to details – make sure clothes are ironed, be careful with jewelry that might distract.
Appearance
- Brush your teeth.
- Pay attention to makeup, ensuring that it is business/academic appropriate.
- If your complexion shines or if you tend to sweat a lot, bring some tissues to blot or wear some light face powder.
Preparing Your Speech
- Know your audience. Eliminate jargon from your presentation.
- Keep in mind that the narrative is the most important part of your video. Don’t let a complex video shoot get in the way of telling it. Simple videos can be just as effective as complicated ones, if not more so.
- Watch TED talks and other presentations to get ideas on how to present your topic effectively. (Provide examples on website?)
- There are several ways you can create a presentation. Consider PowerPoint or Prezi!
- Be sure you have the right to use any third-party content that you want to add to your presentation.
- Give credit where credit is due.
- When writing a script, write it in as conversational and as friendly a tone as you can. Use short sentences. Write for the ear – not for the eye. Most people will only hear video narration so you can be informal, using contractions, etc.
- Presentations with dark backgrounds and extra-large white fonts are easiest to see.
Before Recording
- Manage your time; know what you plan to record before you start shooting. Make sure you add time into your session for the video to save to your USB drive.
- Use the presentation monitor to display your notes to avoid holding note cards in your hands.
- Do a test recording to check voice levels and body placement. Use the Presentation computer to playback your recording. Be sure to give yourself some lead room and head room when positioning yourself in front of the camera. When a single person is the main subject of the recording make sure that there is a small amount of space above your head. You don’t what too much space but you don’t want to cut off your head either.
- Read your script out loud so you can hear where you’ll need to make changes.
During Recording
- Look directly into the camera keeping your gaze as steady as possible. Imagine you are speaking to someone as you record your video. Avoid allowing your eyes to dart quickly from place to place in the room. Relax! Natural blinking is fine.
- Use good enunciation as you speak.
- Practice makes perfect! Use the One Button Studio to rehearse before you make your final recording. Endless re-dos on the same day might not improve your end product. Consider planning multiple practice sessions several days apart with viewing and practice in between.
- Shorter recordings are better. If you have a long presentation consider breaking it up into smaller standalone chunks that you can edit later. 3-5 minutes is optimum, no longer than 10 minutes when possible.
After Recording
- Faculty and staff: please have your video captioned. Submit an iSITE support request for assistance. Captioning fees are the responsibility of the recorder’s department.
- Students consider captioning your video as well. There are a number of ways you can caption your video. Please submit an iSITE support request for more information.
Have a question? Contact us:
TIDE Office
University Center